Endless Creativity: Decorating Your Pop & Swap Frame Step-by-Step

Welcome to the official tutorial for our brand new Women of the Word Pop & Swap Frames!
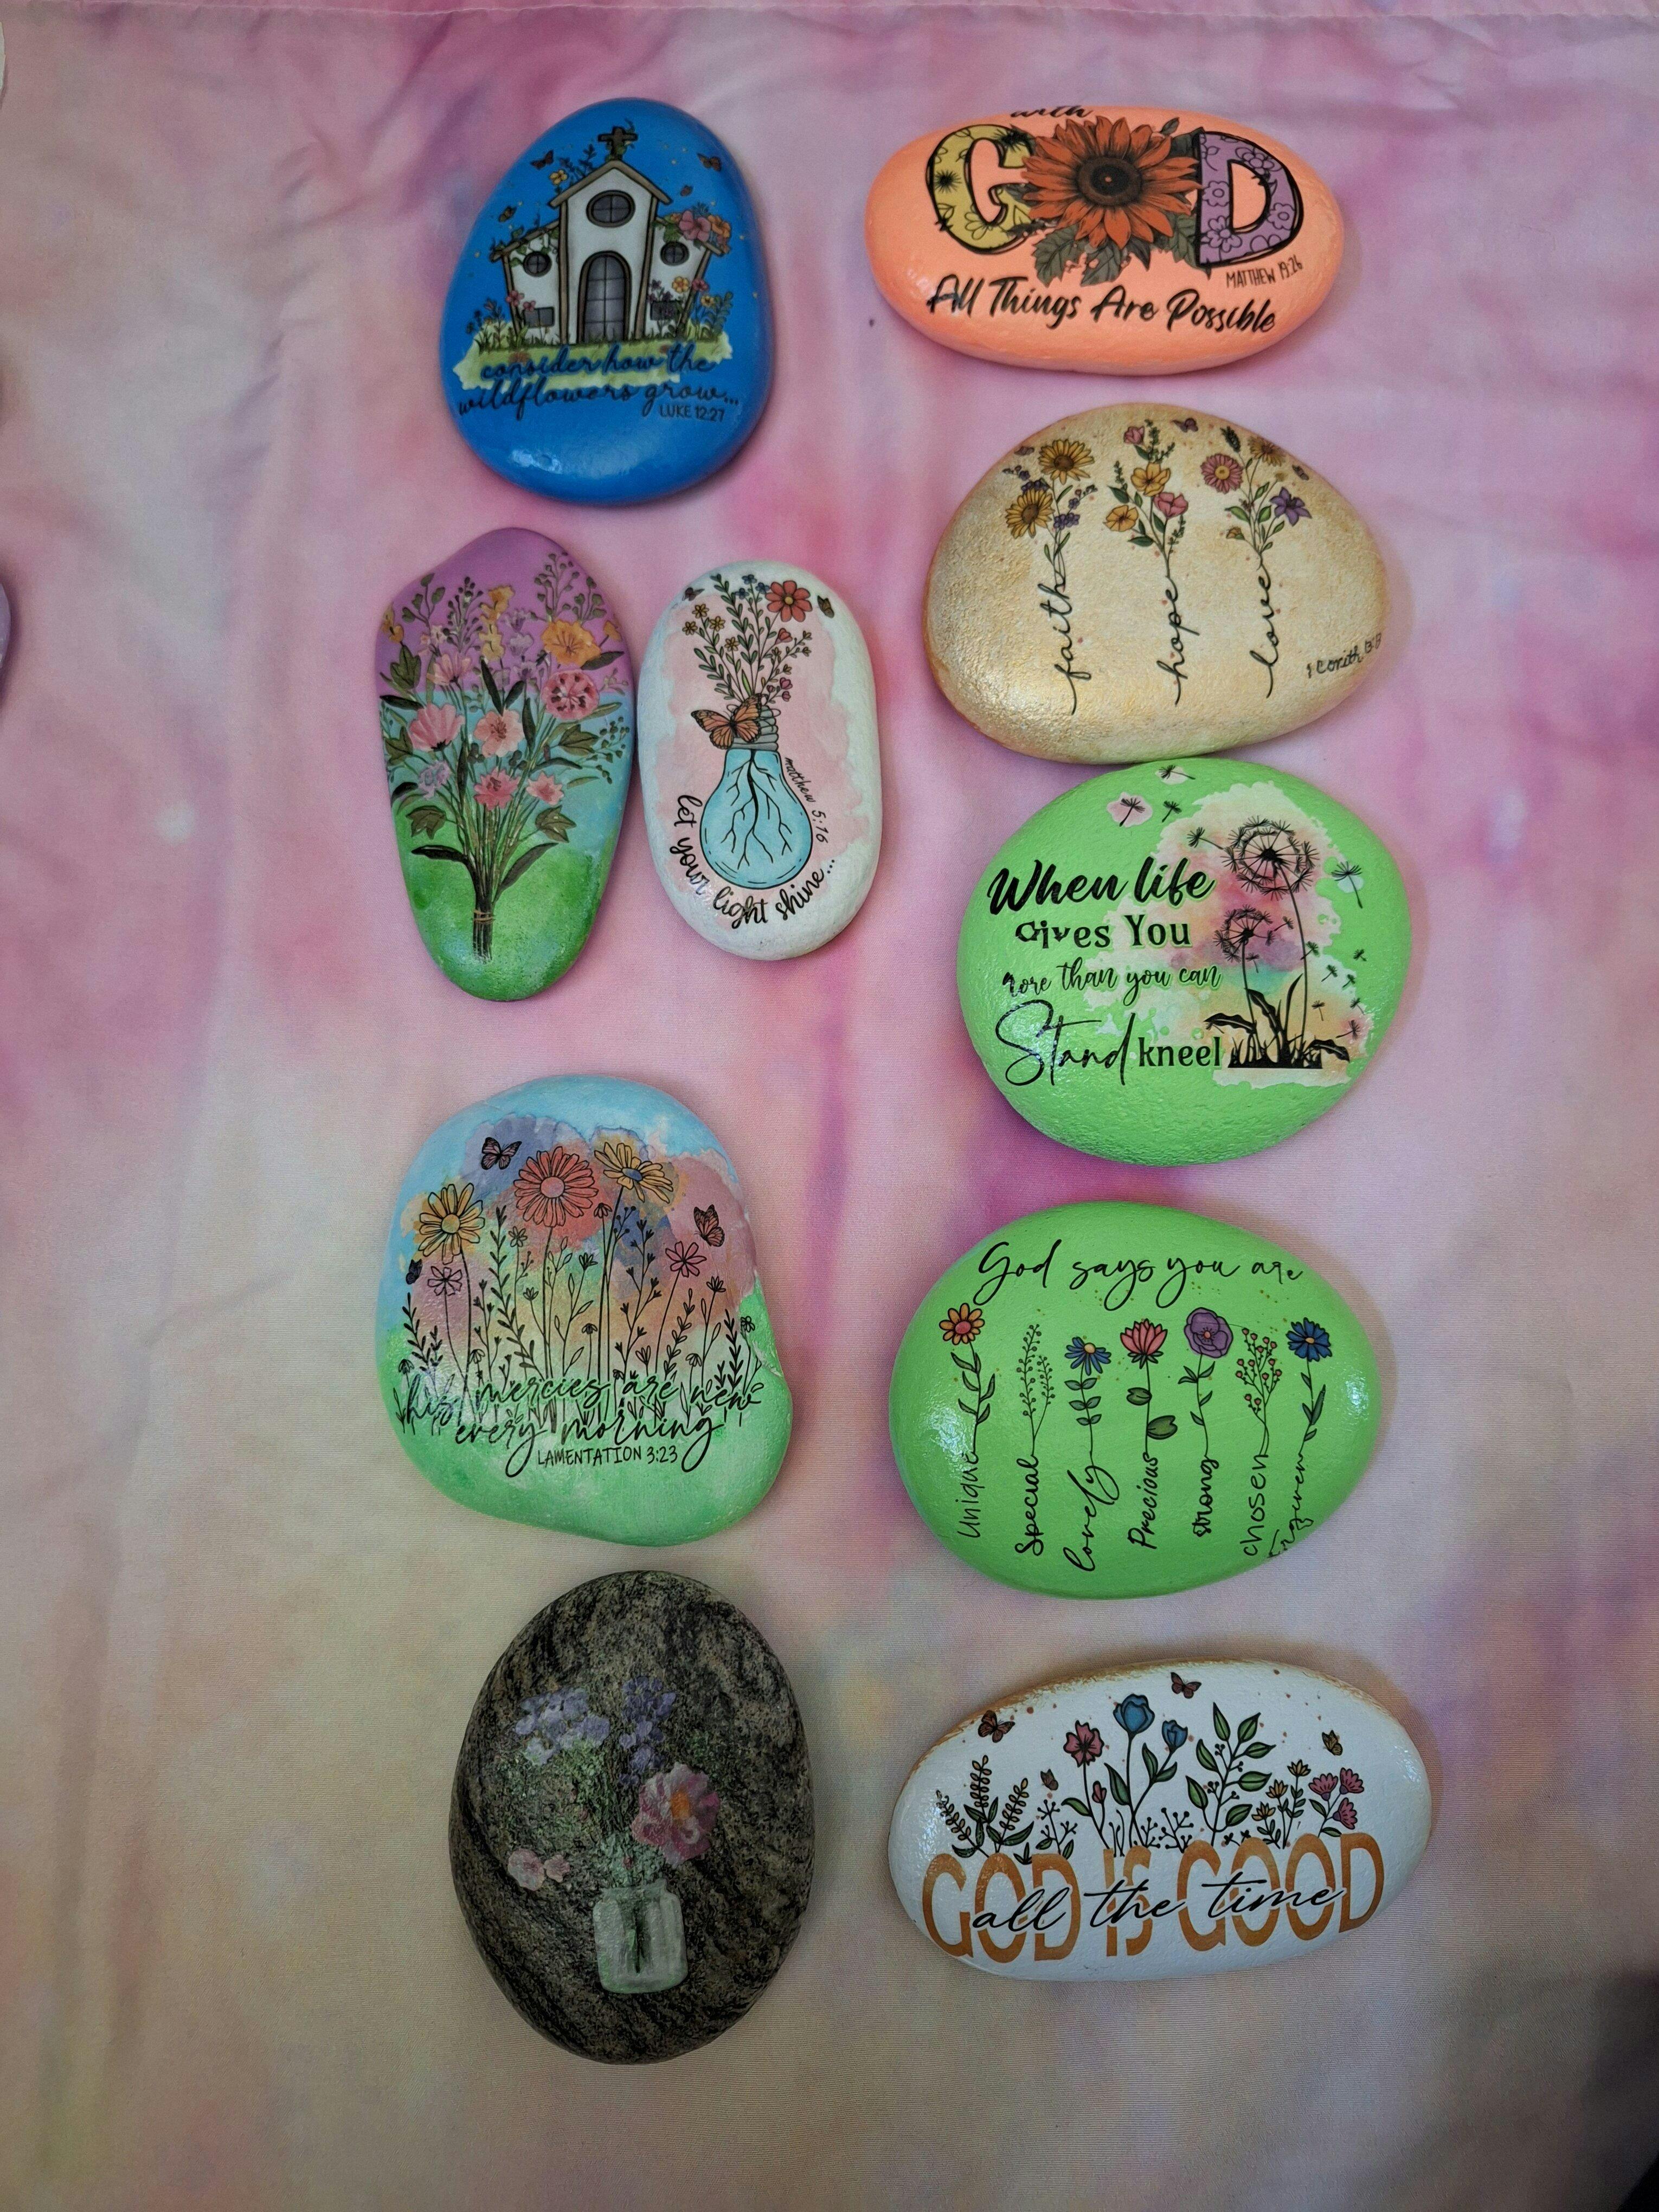
These beautiful, handcrafted frames are designed to be more than just a project — they’re a meaningful way to share your faith, creativity, and story through art.
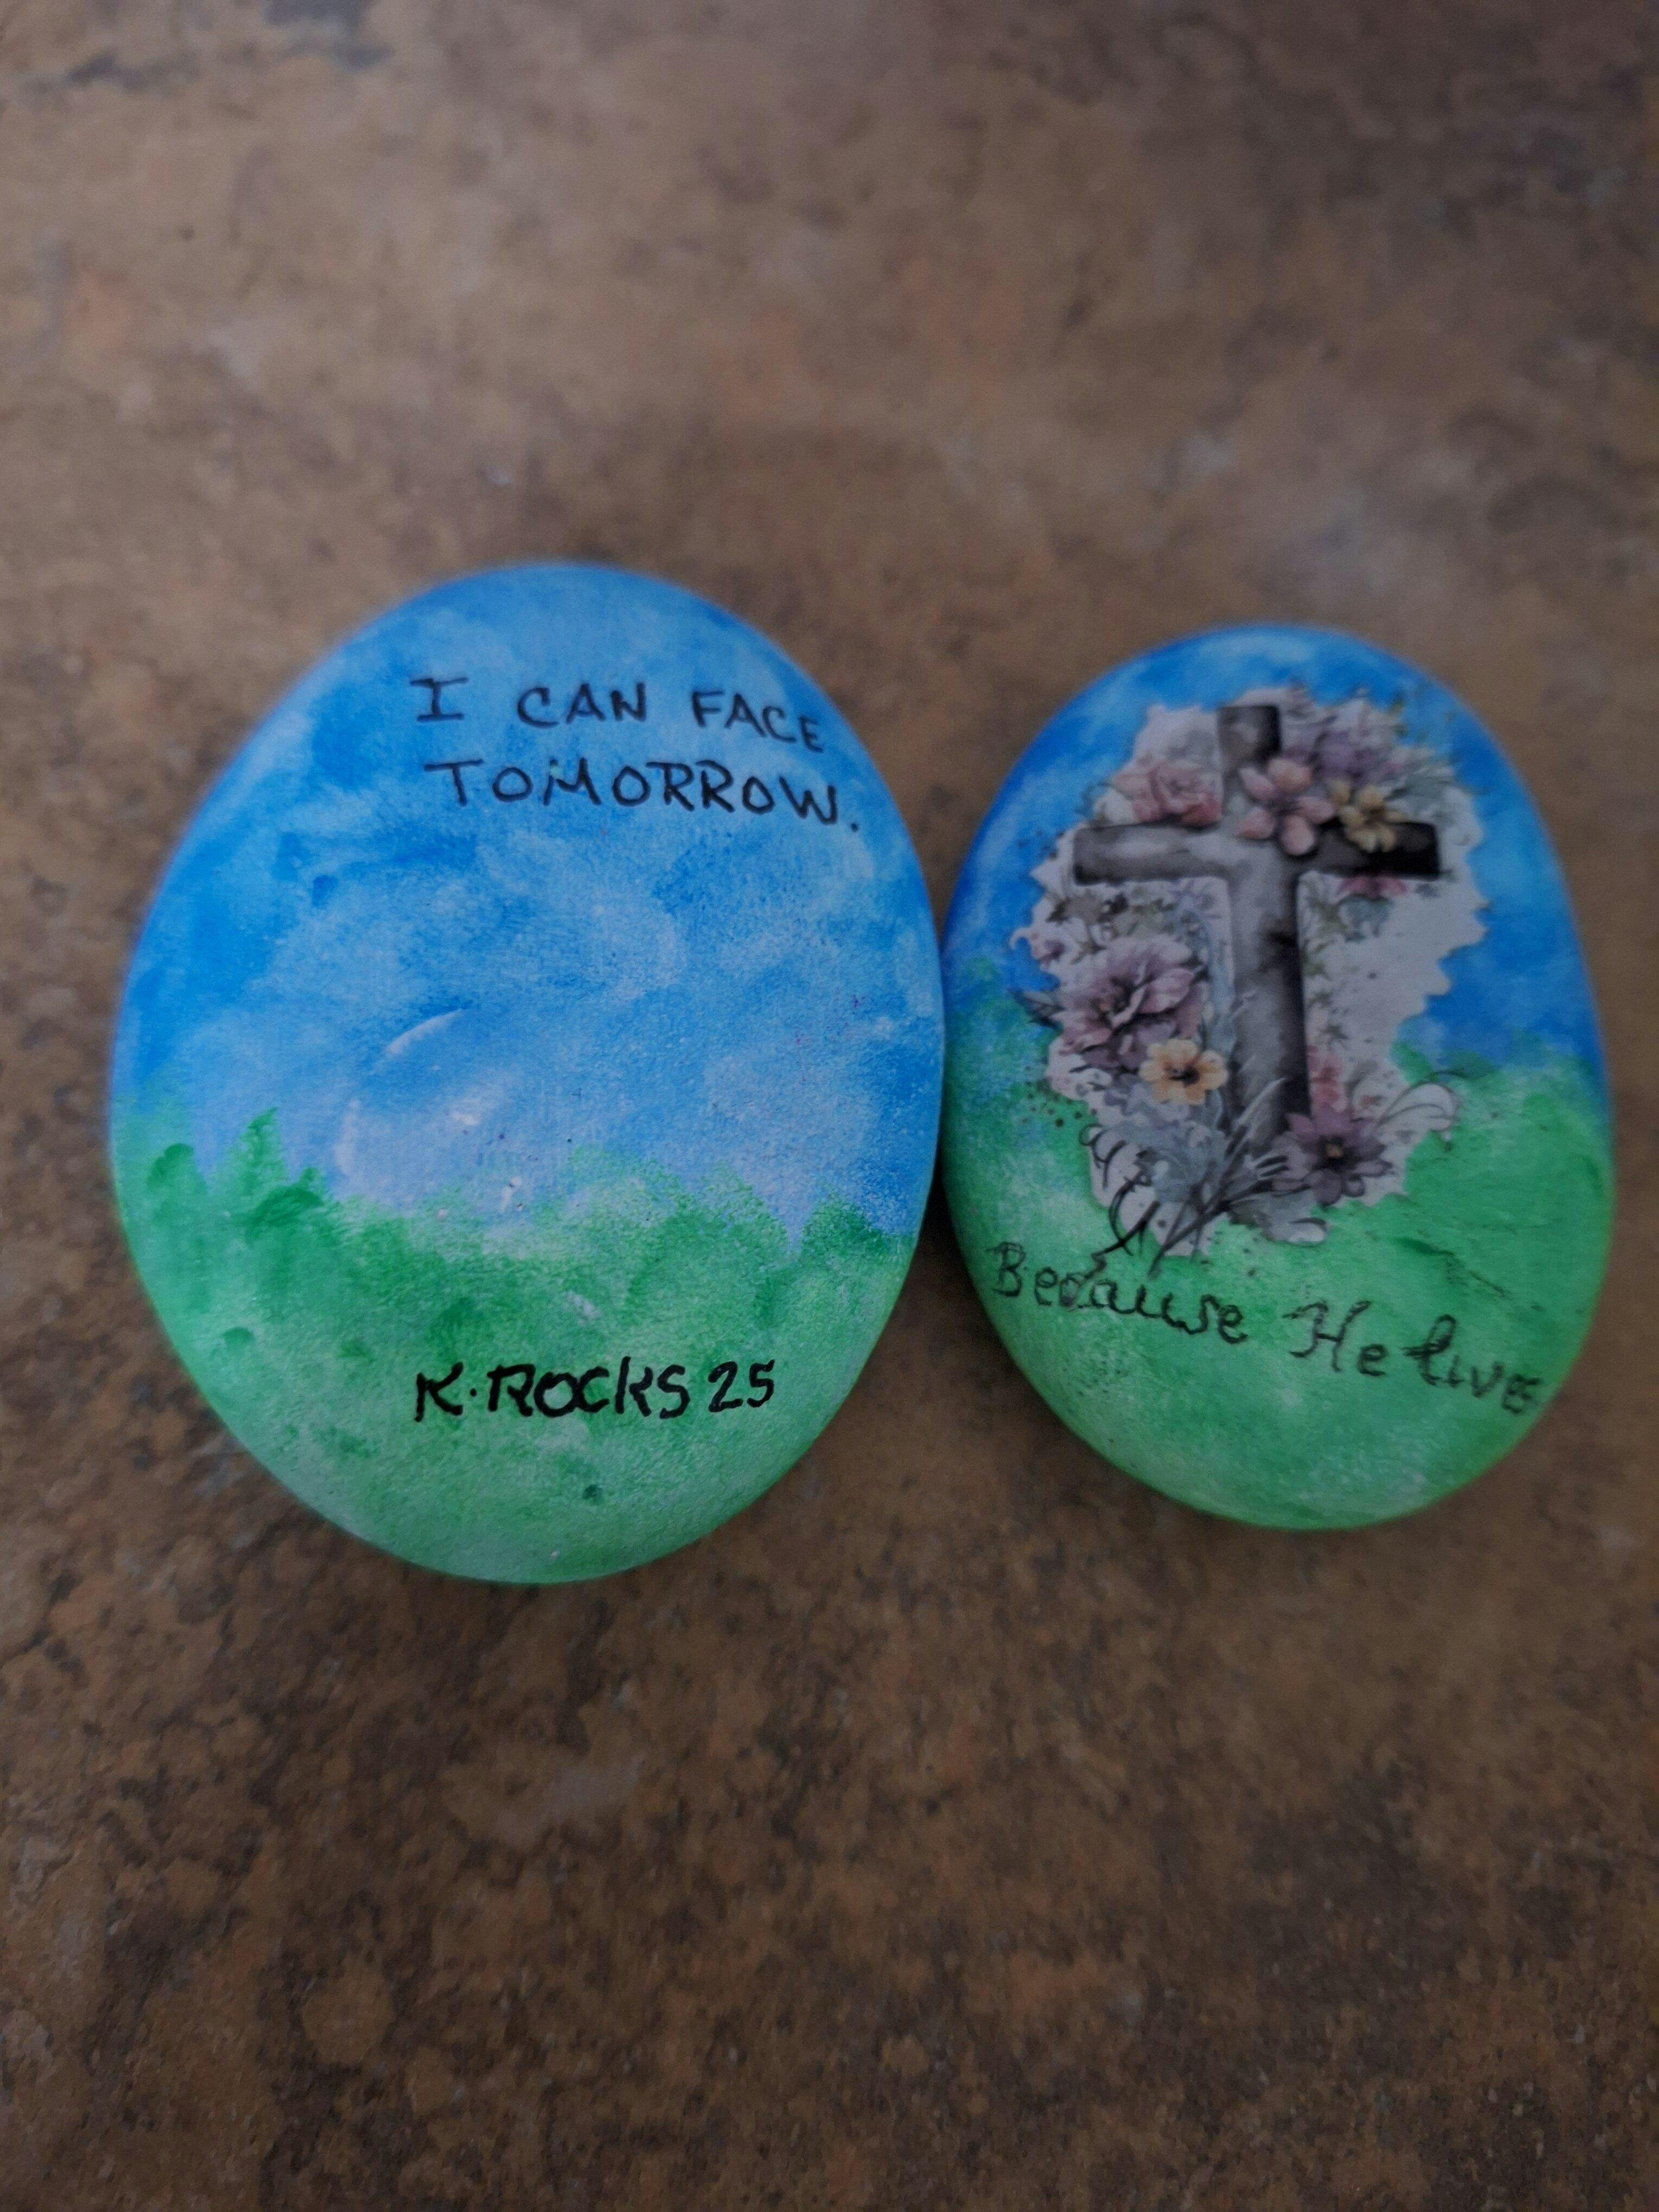
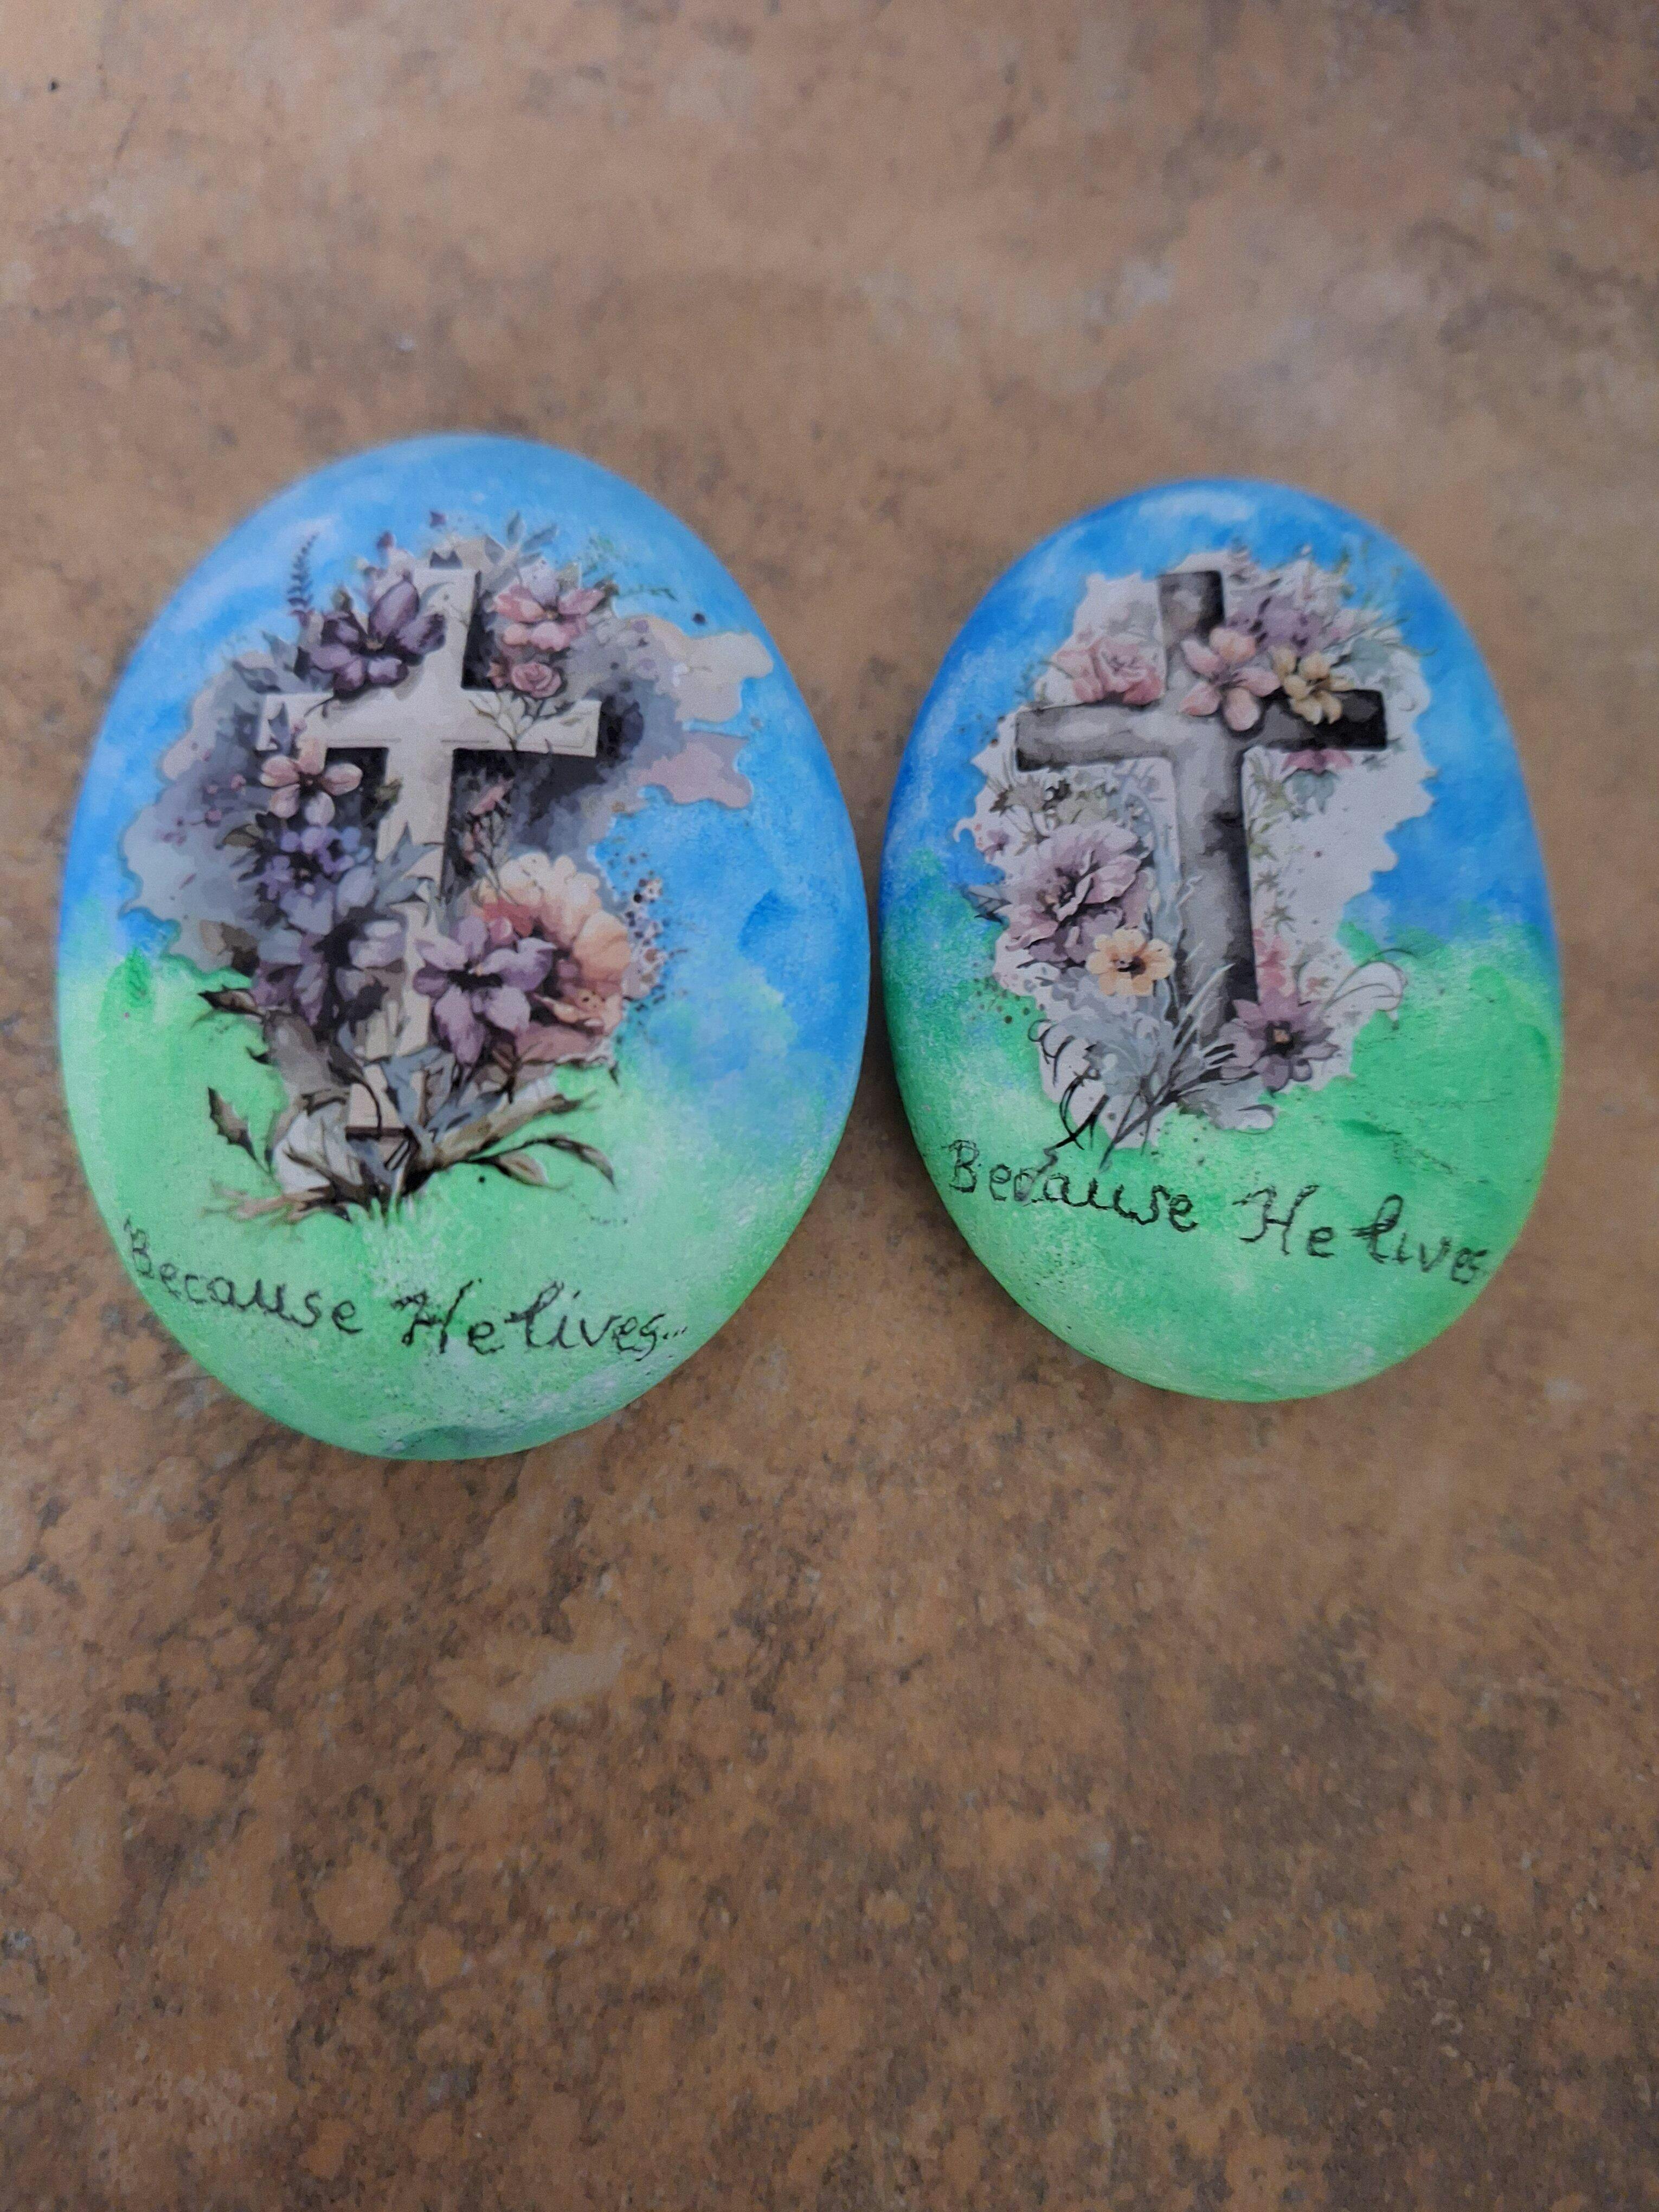
In this tutorial, we’ll walk you through how to decorate your Pop & Swap Frame, customize both sides of your tile insert, and easily swap out designs whenever inspiration strikes. Whether you’re crafting for your home, a special gift, or a seasonal refresh, these frames make it simple (and fun!) to create something truly one of a kind.
Ready to bring your frame to life? Watch the step-by-step video below, gather your favorite supplies, and let’s get started!
Grab your crafting supplies and let’s create something beautiful together! Watch the full tutorial below. 👇
Let’s get started!
SUPPLIES USED:
- Pop & Swap Frame Set
- Mod Podge, Paint Brush, Sander
- Magi Acrylic Paint Pens
- Chalk Paint (I used Waverly in Plaster)
- Tinted Wax (I use Dixie Bell Best Dang Wax in Brown)
- Antique Applicator Brush
- Scissors
- E-7000 or B-6000 Multi Purpose Adhesive
-
Iron (for iron on method decoupage)
- Water Cup & Damp Rag & Wipes
- Saran Wrap/Zip Lock Bag/Parchment Paper
- Dixie Bell Crackle Glaze (Optional)
- Blow Dryer or Heat Gun ( Optional)
Want to craft a new faith filled project with other sisters in Christ every month? Check out our Crafting & Christ Club membership options!
Enjoy the tutorial and I'd love to see images of your projects!
If you post on social, make sure to tag @christiancraftpaper so we can share your creativity with our crafting & Christ community!