Today’s Live Tutorial Using an Amazon Shipping Bag for Creative Projects

Today’s tutorial might be one of my favorites yet — because it starts with something we all already have… an Amazon shipping bag.
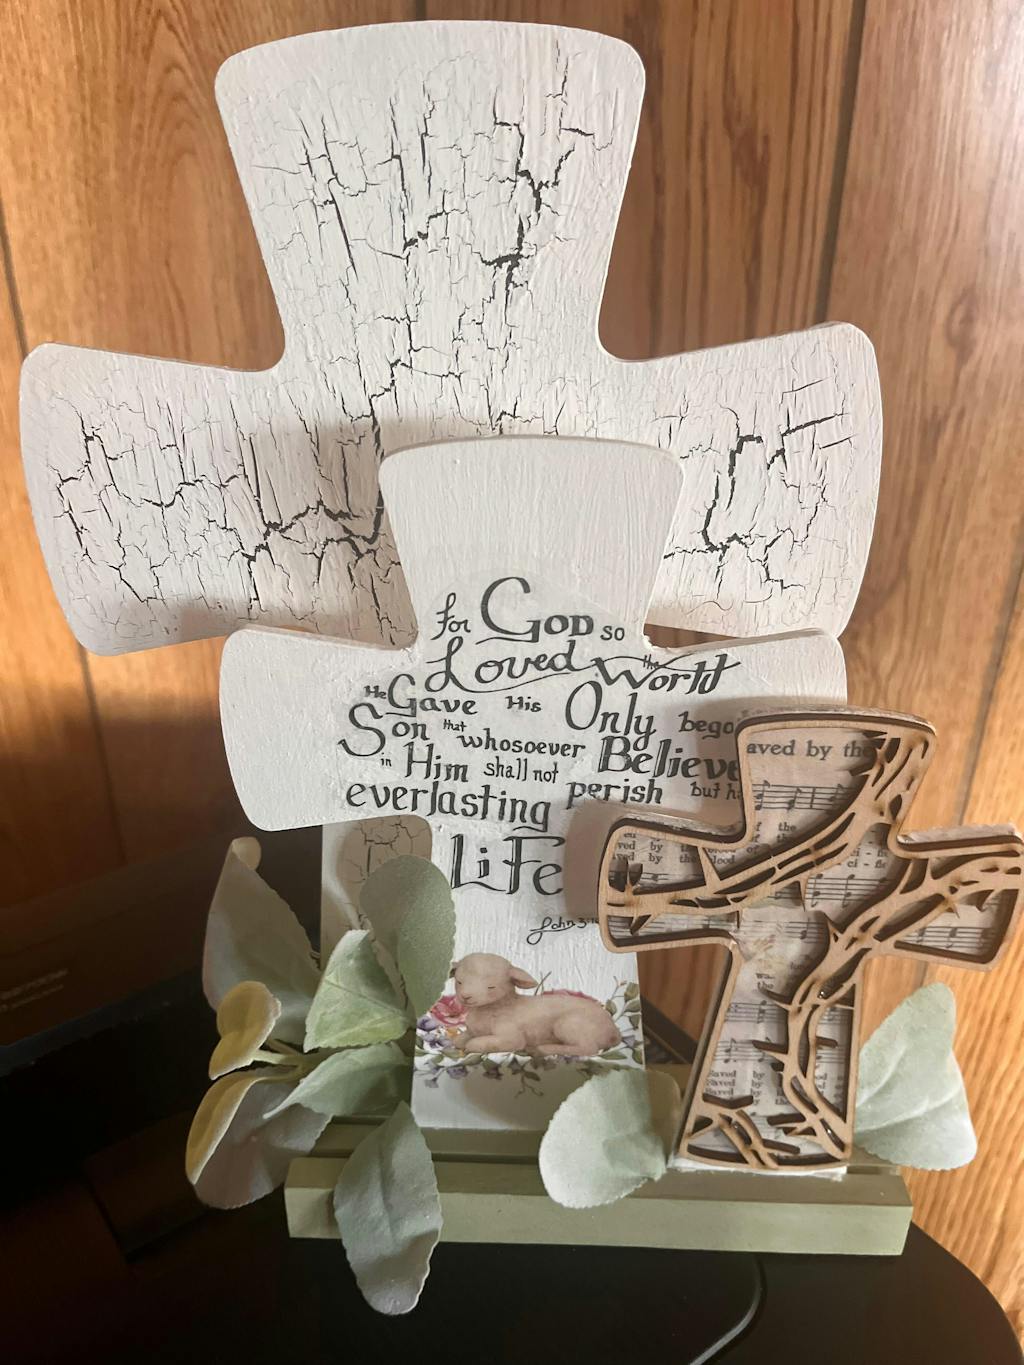
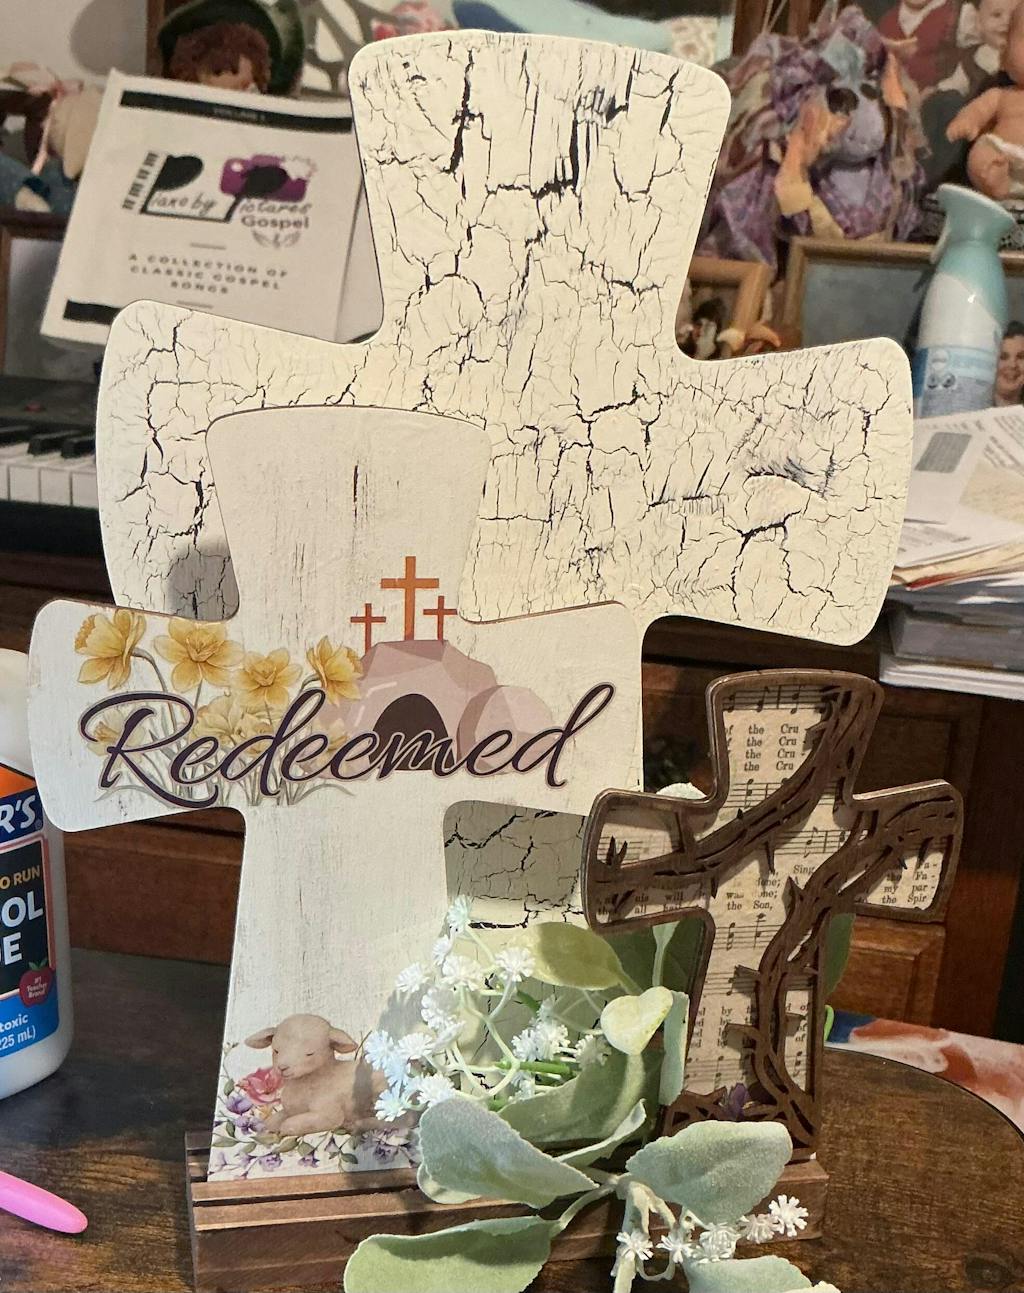
Yes — that plain brown paper bag you’d normally toss in the trash is about to become a beautiful, faith-filled Valentine keepsake.
I'll show you how to turn a simple shipping bag into a layered Valentine project using texture, paper, and our “Love Never Fails” designs. It’s quick, inexpensive, and perfect for gifts, décor, or even to tuck into a Bible or journal.
This is one of those projects that looks high-end, but is completely beginner-friendly — and I’ll walk you through every step live.
I’ll be demonstrating how to:
– Build a textured Valentine base from a paper shipping bag
– Layer beautiful transfers for a vintage, romantic look
– Add faith-based details that make the project meaningful, not just pretty
If you love projects that turn ordinary materials into something special, you’re going to love this one.
A little behind-the-scenes note: the “Love Never Fails” transfers I’m using today are currently only available inside the Crafting & Christ Club. Our members get first access to new designs each month, plus live craft nights, exclusive projects, and a faith-filled creative community that crafts together — not just shops together.
I always say the club isn’t about collecting supplies… it’s about creating space to slow down, make something meaningful, and spend time with God through creativity.
Grab your supplies and let’s start crafting! ✨
(Scroll down for the full tutorial and supply list!)
✨ Here’s what you’ll need:
-
January "Love Never Fails" Transfers (currently available to club members only)
- Heart Cutout (I used the wooden rose one from the January Club Kit)
- Amazon paper shipping bag
- Chalk Paint (I used Plaster by Waverly & Ruby by Hello Hobby)
- Antique Wax (I used Dixie Bell Best Dang Wax in Brown)
- Antique Applicator
- Precision Transfer Tool
- Scissors
- Ruler & Pencil
- Ribbon & Lace Scraps
- Hot Glue Gun & Glue
- Paint Brush
- Q-Tip
Enjoy the tutorial and I'd love to see images of your projects!
If you post on social, make sure to tag @christiancraftpaper so we can share your creativity with our crafting & Christ community!
If today’s project speaks to you, that might be a sign you’d feel right at home with us inside the Crafting & Christ Club!